
THE MARVELS OF WATERCOLOR STICKS.
Being a traditional watercolorist and preferring to work predominantly with tubes of paint, I was very undecided about these watercolor sticks that are newest form of watercolor paint on the market. Daniel Smith is my favourite brand and as a few of my colors ran out I decided to replace them with the equivalent in sticks. When they arrived, I held them clumsily in my hand and had no idea what to do with them. It took a little bit of experimenting to get used to the idea of working them, but once I got my head around the different format, I became more adept at holding several sticks in one hand at a time and my brush in the other hand.
FACTS ABOUT DANIEL SMITH WATERCOLOR STICKS.
These innovative Watercolor Sticks are Daniel Smith watercolor paints shaped into a convenient stick form, allowing you to both draw and paint with your watercolours.
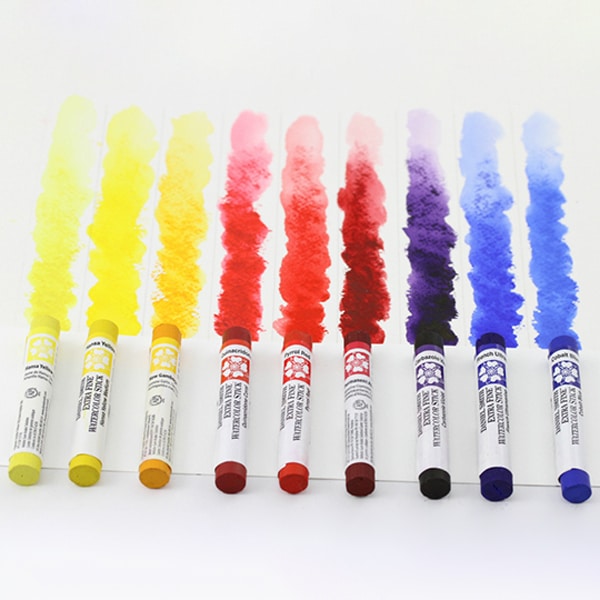
The watercolor sticks are made with the same superior pigment that the Daniel Smith watercolor paints are made with. The sticks have no fillers or waxes, they are Daniel Smith watercolor paint made with pure pigment and gum arabic, so the paint releases easily with a wet brush. The Watercolor Sticks are a “pan in your hand”, they are Daniel Smith Watercolor paint shaped into stick form, baked, wrapped in a label, ready to draw and paint. They have the same properties of granulation, transparency, staining and lightfastness as the matching colour does in the Daniel Smith Watercolor tubes.
Stick size: 7.6cm in length, 1.1cm in diameter. 1 Daniel Smith Watercolor Stick = 3 Full Pans.
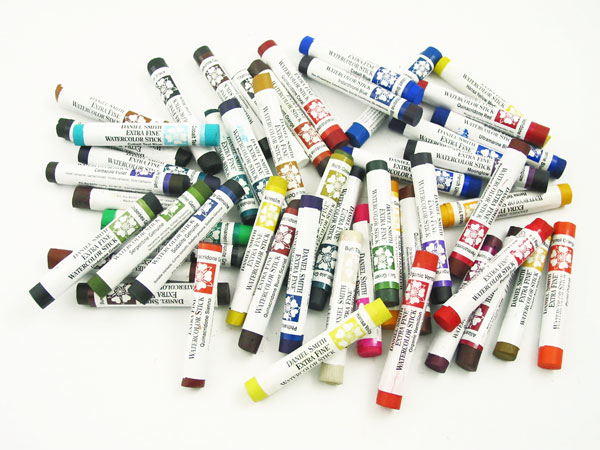
Available in 62 colours – including some of the most popular colours Daniel Smith makes.
Very portable, light in weight and great for plein air outings. One is able to purchase custom made containers for your sticks.
Pricewise they are very economical, all the same price regardless of what series their colour equivalents are in tubes or pans.
FIVE WAYS HOW TO USE THE DANIEL SMITH WATERCOLOR STICKS
1, Dip and smudge
Dip the stick into water, then smudge saturated color on to wet paper.
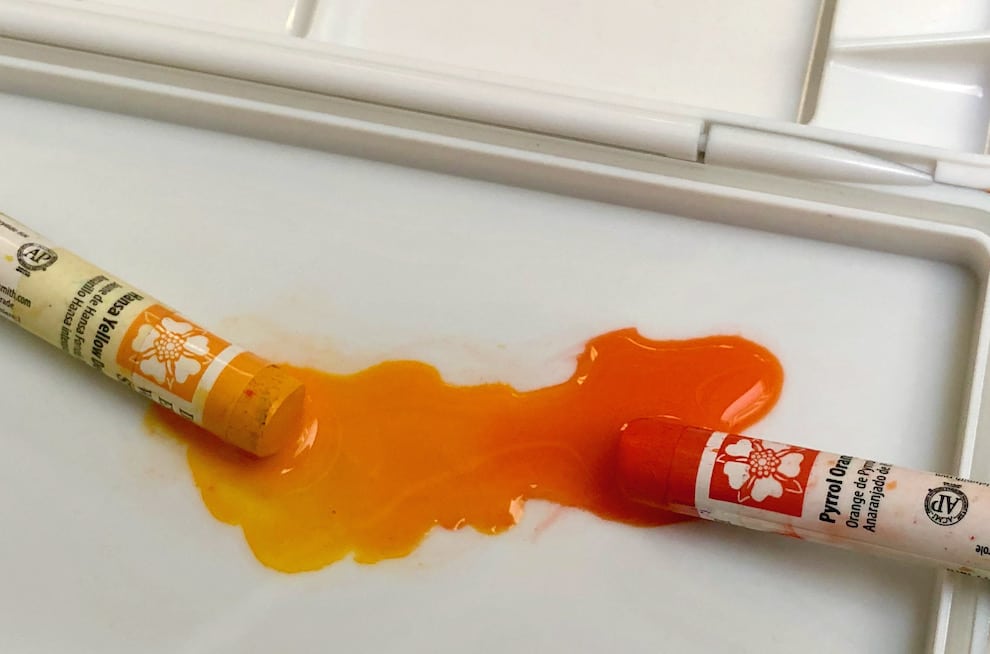
2. Rub and blend
Rub different sticks into a small puddle of water to create a blend.
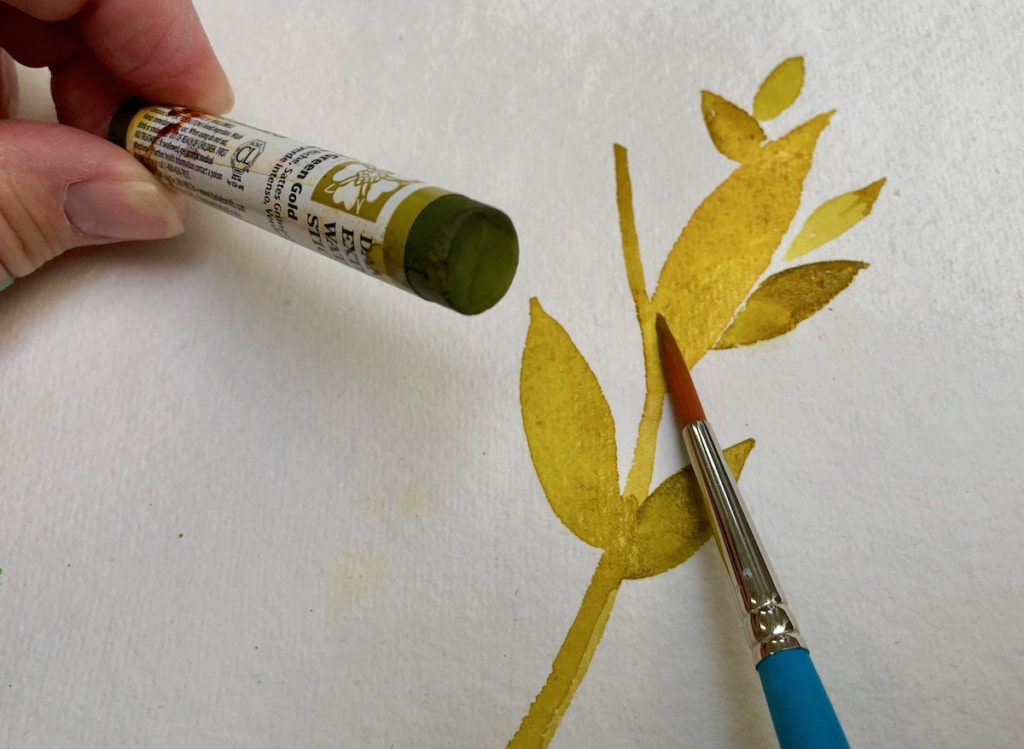
3. Brush the tip
The flat tip and the sides (once the label is removed) of the stick are similar to a pan when used with a wet brush it’s like holding a pan in your hand
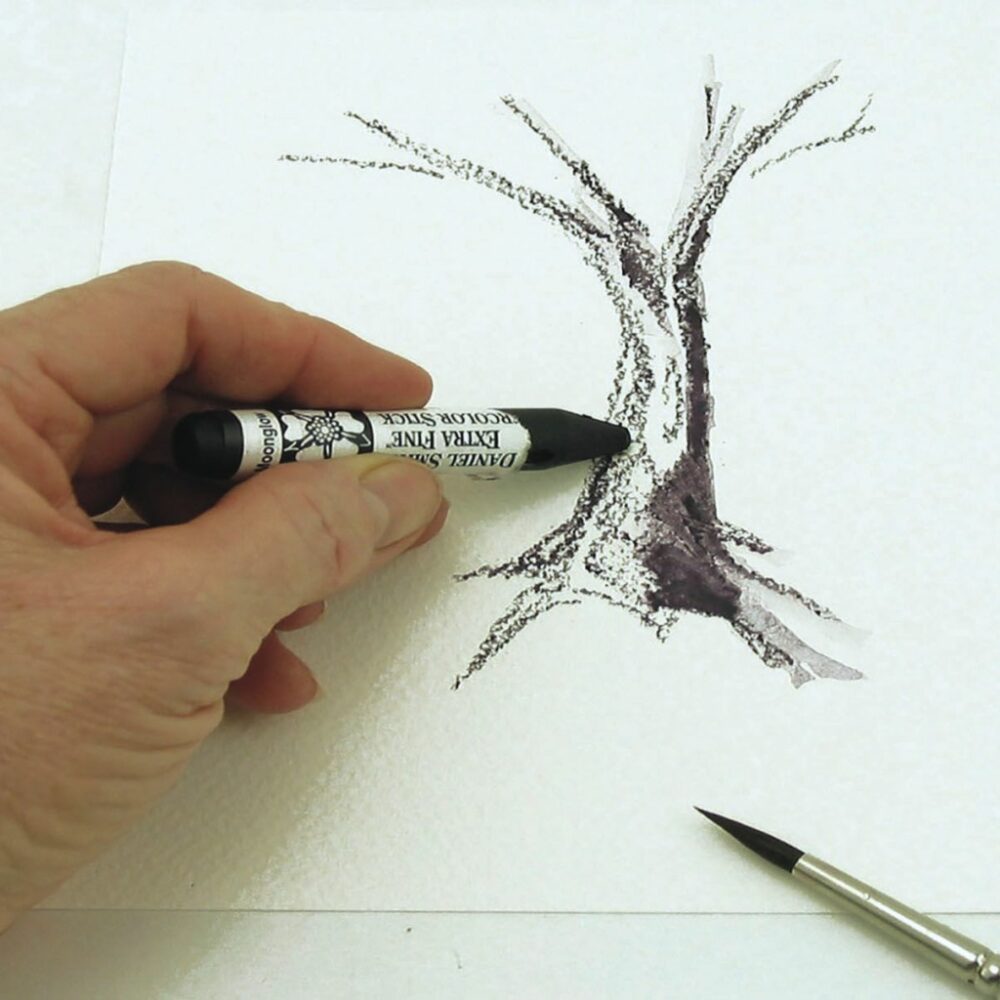
4. Make marks
Sharpen a dry stick to draw distinct marks on wet paper that can be softened with a wet brush. This is more accomplished with hot pressed smooth paper than the cold pressed or rougher surfaces, but it does make some interesting texture techniques and accents.
5. Create a wash
After sharpening your sticks, save the shavings to dissolve in water in a pan. Alternatively you can cut off a bit of a stick, or even combine a few bits of different colors in a pan to form your own special color mix blend.
Will I convert to using predominantly sticks? I don’t think so, I still prefer to use the traditional tubes and palette, but I do think they are a lovely additive to have to one’s art supplies. I think with a little more practice and experimentation I will become more adept and creative with them.
For more hacks and how to use;- https://www.youtube.com/watch?v=0XxZoyxIMwQ
Barbi Cunningham.